Followers

Wednesday, 5 September 2018

Zombie Girl Card With Shadow Clocksy

Hi all
Today i am sharing my project for the A Step In The Dark design team. Our sponsor for this month is Shadow Clocksy. The winners of this challenge get to choose some free stamps from her Etsy shop.

You can join our group here https://www.facebook.com/groups/629105100496386/


As Halloween aproches i though i would amp up the gore a bit. Only i knocked over the rep spritzing ink and now my desk and carpet are red too.


Here is a close up of the digi stamp i used which is the Pop-culture zombie girl one.


I dipped my fingers in red Deco Art mister to create a few bloody finger prints


I stamped the sentiment out using red Dovecraft ink as it doesn't run when wet. I then dribbled more red misting ink along the bottom and let it run a bit. I will be back with more dark projects with my Forever Dark projects.

Tuesday, 4 September 2018

Skull Tattoo Card

                                                                     
Hello all
I have used one of the images by Delicious Doodles to create this grungy skull card.

I used the Gothic Grunge 8x8 paper pack from Lelli-bot crafts for the layers. It comes with the toppers and sentiments that can be cut out and used as well.


I used the Creepy Crawlies Tattoo page and shunk it down so that it can be used as a topper.


I added a little spider charm onto some beading elastic and thread him through the back of the card so he dangles.


Thank you for visiting


Skull Appreciation Day Altered Box

Hi All

Here is my make for Skull Appreciation Day where we all get together and make something using skulls.


I used a lot of DecoArt Media products on this one. I started by painting a large MDF box with DecoArt Media White Gesso and then i spread a thick layer of black gesso over the top and dried it off with a heat gun so that the top was spongy but not completely set. I then used a dragon scale ATC background stamp and pressed it into the gesso. Once set i then applied another layer of black gesso and used the Andy Skinner Snake's Web Stencil. I didn't intend on going for a fallen angel theme but with the scales and the winged skull it just went that way so i stuck with it. 

I dry bushed the embossed areas using Dazzling Silver Metallic paint and rubbed Lavish Green and Cosmic Blue Metallic Lustre over the top of the silver. The winged skull is from Things to Alter 


The skull was decorated using white gesso and then a layer of white modelling paste using the Short Circuit Stencil. Once dry i painted it with Dazzling metallics in silver and used Amethyst on the wings.


I repeated the dry brushed technique on the front and i painted the large joined wings with Dazzling Metallics in gold. The photo doesn't show it but it shimmers so beautifully in the light. 


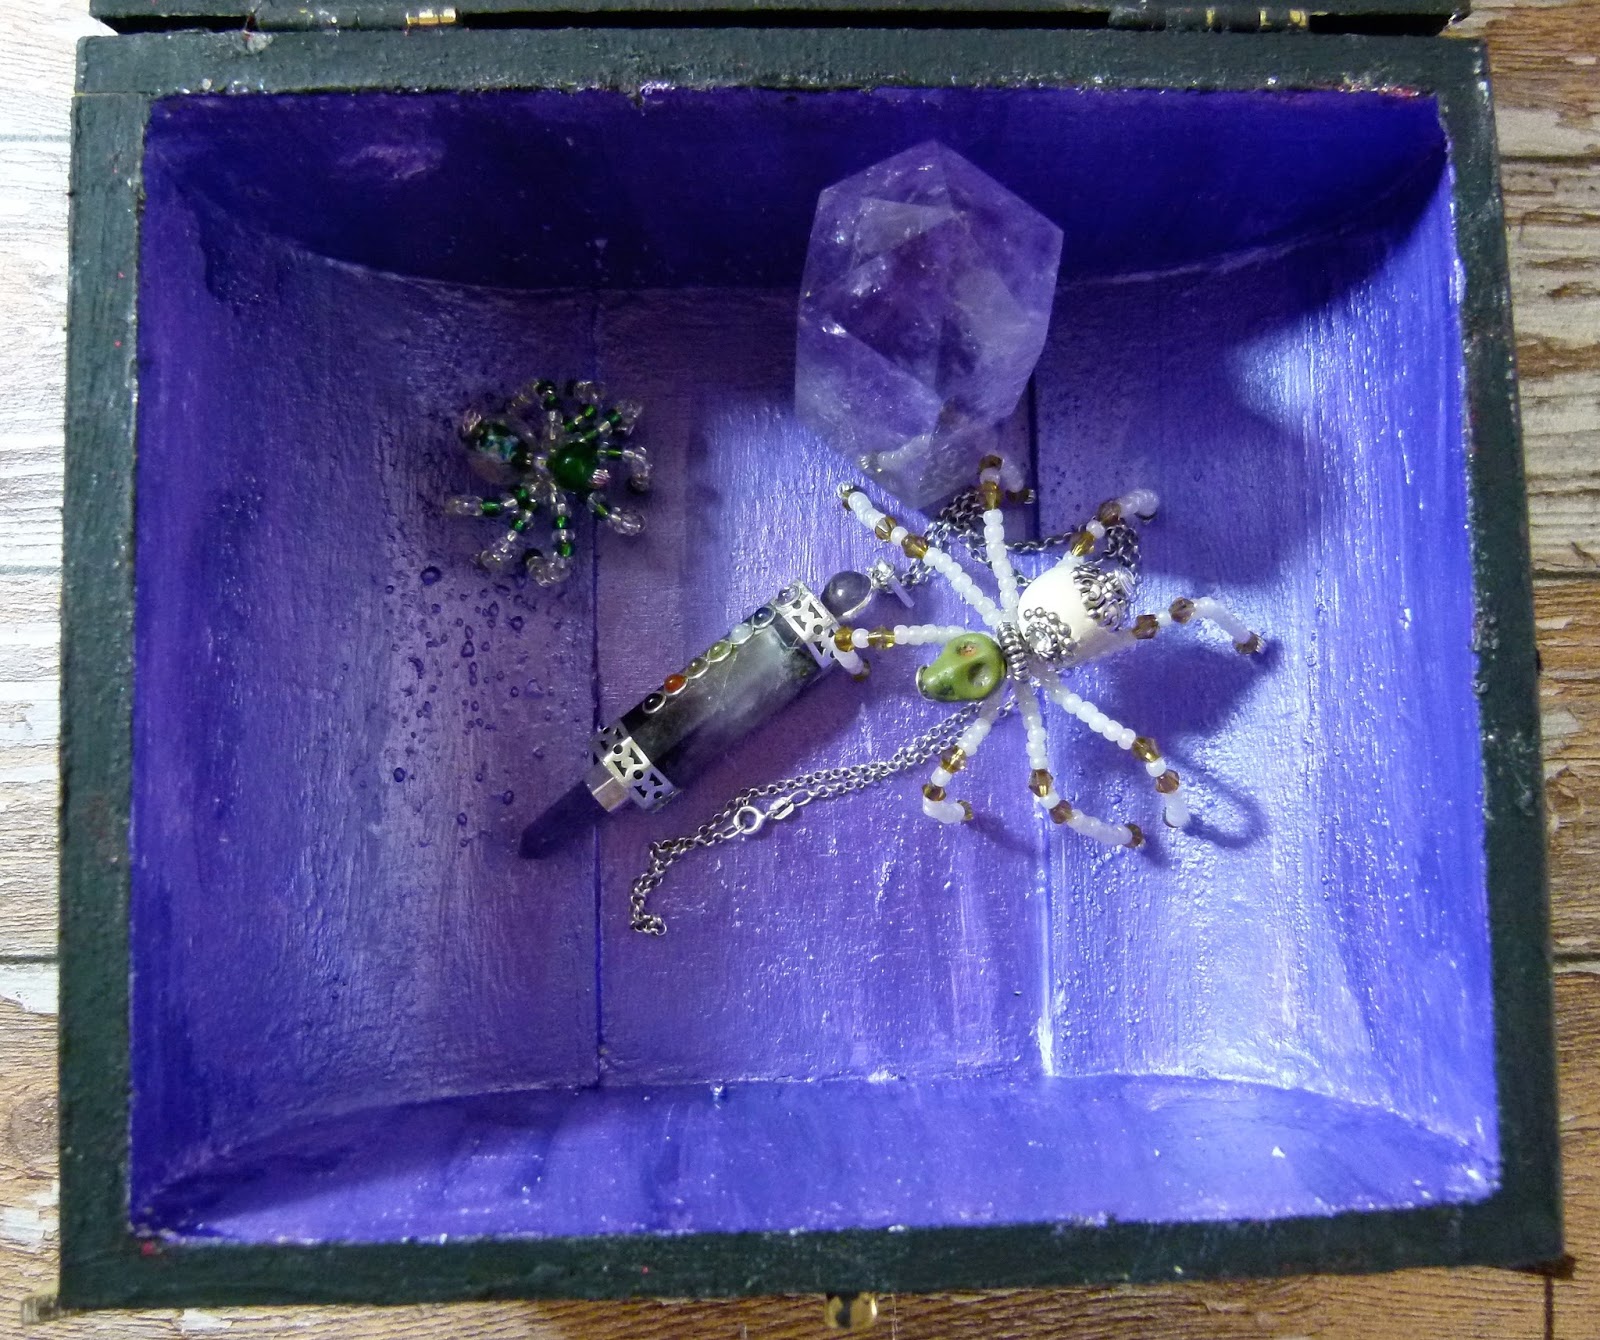
I did plan on putting velvet in the who inside but it went a bit wrong so i did just the lid with the bit i saved. I painted a star gold and added it to the lid to give it a mystical feel.


I really like Amethyst

Here is the blog roll with everyone who is joining the hop so please visit them and leave some love.
 photo SkullAppreciationDay2016_zpsumuwwed6.jpg
Terra
Black Dragon
Jorgey
Susan S
Julia
Alex
Alison
Ike
Leigh
Lost Coast Portal To Creativity
​Katie You are here
Deadly Little Witch
​Susan R
​Dream In Darkness

Thank you for visiting 

Dolls of the dammed wall hanging


Hi all 
I am back with a new creepy make using a wall hanging i got from a pound shop. The influence was the Island Of The Dolls in Mexico. It is literally a  island with creepy decaying dolls hung everywhere. It has been featured quite a bit on the paranormal shows.


I started off by painting the base black and then with Weathered Wood Crackle Medium. I then applied White Crackle Paint over the top to get the big cracks. 


I then painted it around the edges with Quinacridone  Gold Fluid Acrylic which i spritzed with water to create a rusty effect.


The Doll heads was painted with Black Gesso and then weathered wood Crackle Medium. I then mixed grey and blue acrylic paint together and painted them up. I then rubbed around the eyes and mouth with a baby wipe to take a bit off the paint off and create a distressed look which i finished by adding Quinacridone Gold.


I punched the holes into the eyes using a Crop-a-dile and i just punched over the holes a few times to make them big enough to get the led lights through. They are held on with hot glue.


I bought so cobweb and spritzed it with Colour Chemistry Bobby's Grey and left it to dry. It looked a bit tacky left in its original colour.


I finished off by draping the cobwebs over and adding the lettering.

Thank you for visiting


IKE's Art Spooky Love Madam Death Halloween Card


Hello crafy friends and welcome to another blog post for the IKE's Art design team. It is nearly Halloween so the theme on the IKE's Art blog this week is spooky love so i have something spooky and a bit naughty to share. If you would like to join in with the challenge for a chance to grab yourself some IKE's Art images then pop over here http://ikesworldchallengeblog.blogspot.co.uk/

Warning this blog post contains nipples which viewers may find offensive unless you like nipples in which case it is ok.


Here she is the lovely Black Widow who would have your head off the minute you took your eyes off her.


I used scraps of Halloween papers from the Gecko Galz and then i used a Tim Holtz Strip die the one with the spiders wed to add another layer.


I love these alternative sentiments which you can find over at Athena Crafts.


These are the mini dies by Docrafts and they are awesome.


I finished off the card using a small MDF spider from Things to Alter and a bit of black Metallic Lustre.

Thank you for visiting and i look forward to seeing all your spooky makes over at the IKE's Art Challenge blog. I will be popping in to say hi so get those entries in.


Day of the dead MDF Shrines


Hi all

I made up a few shrines for Dias De Los Muritos using the MDF ATC  Shrines and Coffin boxes.

Day of the Dead is a Mexican celebration of those who have passed on and families will get together to remember them. They create shrines with gifts and food left out for their dead relatives and that is where the sugar skulls come from as these are made out of sugar and given either to Children or left on alters. 


I used a stencil mask and White Modeling Paste to create the embossed background. I then painted over the top in bright colours using Crafters  Acrylic.


I painted the flowers and sugar skull with white gesso before painting on the detail. Use gesso first to stop the paint soaking into the MDF


I then decorated the shrine with lots of flowers


I used gold Dazzling Metallic on the cross and coated it with gesso first


For this one i glued MDF flowers around the skull and decorated the frame with small resin flowers.


The last shrine is actually one of the coffin boxes that i painted up and added modeling paste to the lid. 


I used Metallic Lustre to add color to the flowers and layered them up.


Thank you for visiting 


Day of the dead Sugar Skull Tag

Hello crafty friends

I have created a sugar skull tag with bright colours for the Day of the dead .


How to

1) Using a Gelli plate add a few blobs of Orange, Yellow and Red acrylic paint to the surface and blend with a brayer tool.

2) Place the blank tag onto the paint and pat down on it to transfer the paint.

3) Using a stencil mask apply crackle paste over the tag.

4) Spritz over the top with yellow misting ink

5) Stamp out the sugar skull and flowers onto white card and colour them in.

6) Cut out the skull and flowers and position onto the tag before gluing down.

7)  Add enamel dots to the flower centres.

8) Add some ric rac to the top of the tag to finish.